Fast API - Running in Docker

Full Stack Data Dev.
Introduction
This article will setup a basic Hello World FastAPI project running in Docker. The purpose is to start off small before starting on a full real world project.
What and Why
Docker is a containerization platform. Docker combines application source code and dependencies so you can run your code in any environment. The container engine runs directly on your Operating System, so containers can be scaled directly on your host... assuming it can handle the compute and storage load.
There are so many resources for Docker, including Docker's home site. No quick and easy way to learn Docker. If you need a further deep dive take a look at Docker's Getting Started pages.
You can also follow our SQL Server on macOS using Docker article to get Docker Desktop installed if you don't have it already.
Code Repo
Code for this article can be found in the following GitHub Repo - Article 5.
Setup FastAPI
The API code is a simple example for now. Our focus is on the detail of the DockerFile and configuration.
Our FastAPI project will only have one route/ endpoint to return Hello World.
# app.py
from fastapi import FastAPI

app = FastAPI()

@app.get("/")
async def root():
    return { "message": "Hello world" }
Our python requirements.txt file only includes the basics, FastAPI and our web server, Uvicorn:
fastapi>=0.68.0,<0.69.0
uvicorn>=0.15.0,<0.16.0
Setup Docker
# Using Python 3.9
FROM python:3.9

# Setup working directory
RUN mkdir code
WORKDIR /code

# Copy requirements file to our working directory
COPY ./requirements.txt /code/requirements.txt

# Install packages - Use cache dependencies
RUN pip install --no-cache-dir --upgrade -r /code/requirements.txt

# Copy our code over to our working directory
COPY ./ /code/app

# Run our project exposed on port 80
CMD ["uvicorn", "app.app:app", "--host", "0.0.0.0", "--port", "80"]
Now let's start decoding the DockerFile.
FROM
This statement is your starting command which initializes a new build and sets the base image that your environment will be working with. A Dockerfile has to start with a FROM statement.
Containers work in a layered environment, so picture this as your most fundamental dev layer of your container.
In our example, we're specifying that we're using the Python3.9 image. The image is pulled from the default Docker registry where sharable images are hosted. The default registry is used when the registry URL is not specified.
WORKDIR
The next step is setting the container image's working directory. The default value is / but it is best practice to set a working directory. In our example, we're creating a directory in our image and setting our working directory to: /code.
COPY and RUN Dependencies
The Copy statement is straight forward, we're just copying our local file into our working directory or to any other directory in our Docker container image.
We're following best practice to copy the requirements.txt file first before the rest of our project files, let me explain why. The reason we're only working with dependencies is back to the fact that Docker builds images in layers. This package dependency layer is usually not changed very often so Docker will cache this layer and avoid re-running the installation of all dependencies each build.
The pip install command is executed next by the RUN command. Pip is updated and then installs requirements with the --no-cache-dir feature used. We don't need pip to cache its dependency installations, we'll let Docker be in charge of that. The install will run the installation of dependencies the first time, then every next image build if no new packages are included or changed in the requirement.txt file then Docker will reuse the cached version.
COPY App
Now copying the application source files are at the end of the Dockerfile. These files tend to change often so this layer will create itself each time when copying over application files into our container's working directory.
CMD
The final step will execute the application. We're working with the commands that we normally start a FastAPI project with but now in the form of comma separated parameters. We're executing the app object in the app file on localhost port 80.
Build Image
Now that we know what's going on in our Dockerfile, we use a specific command to build an image using the file. The command below will build our image. The -t argument will specify the name of our image.
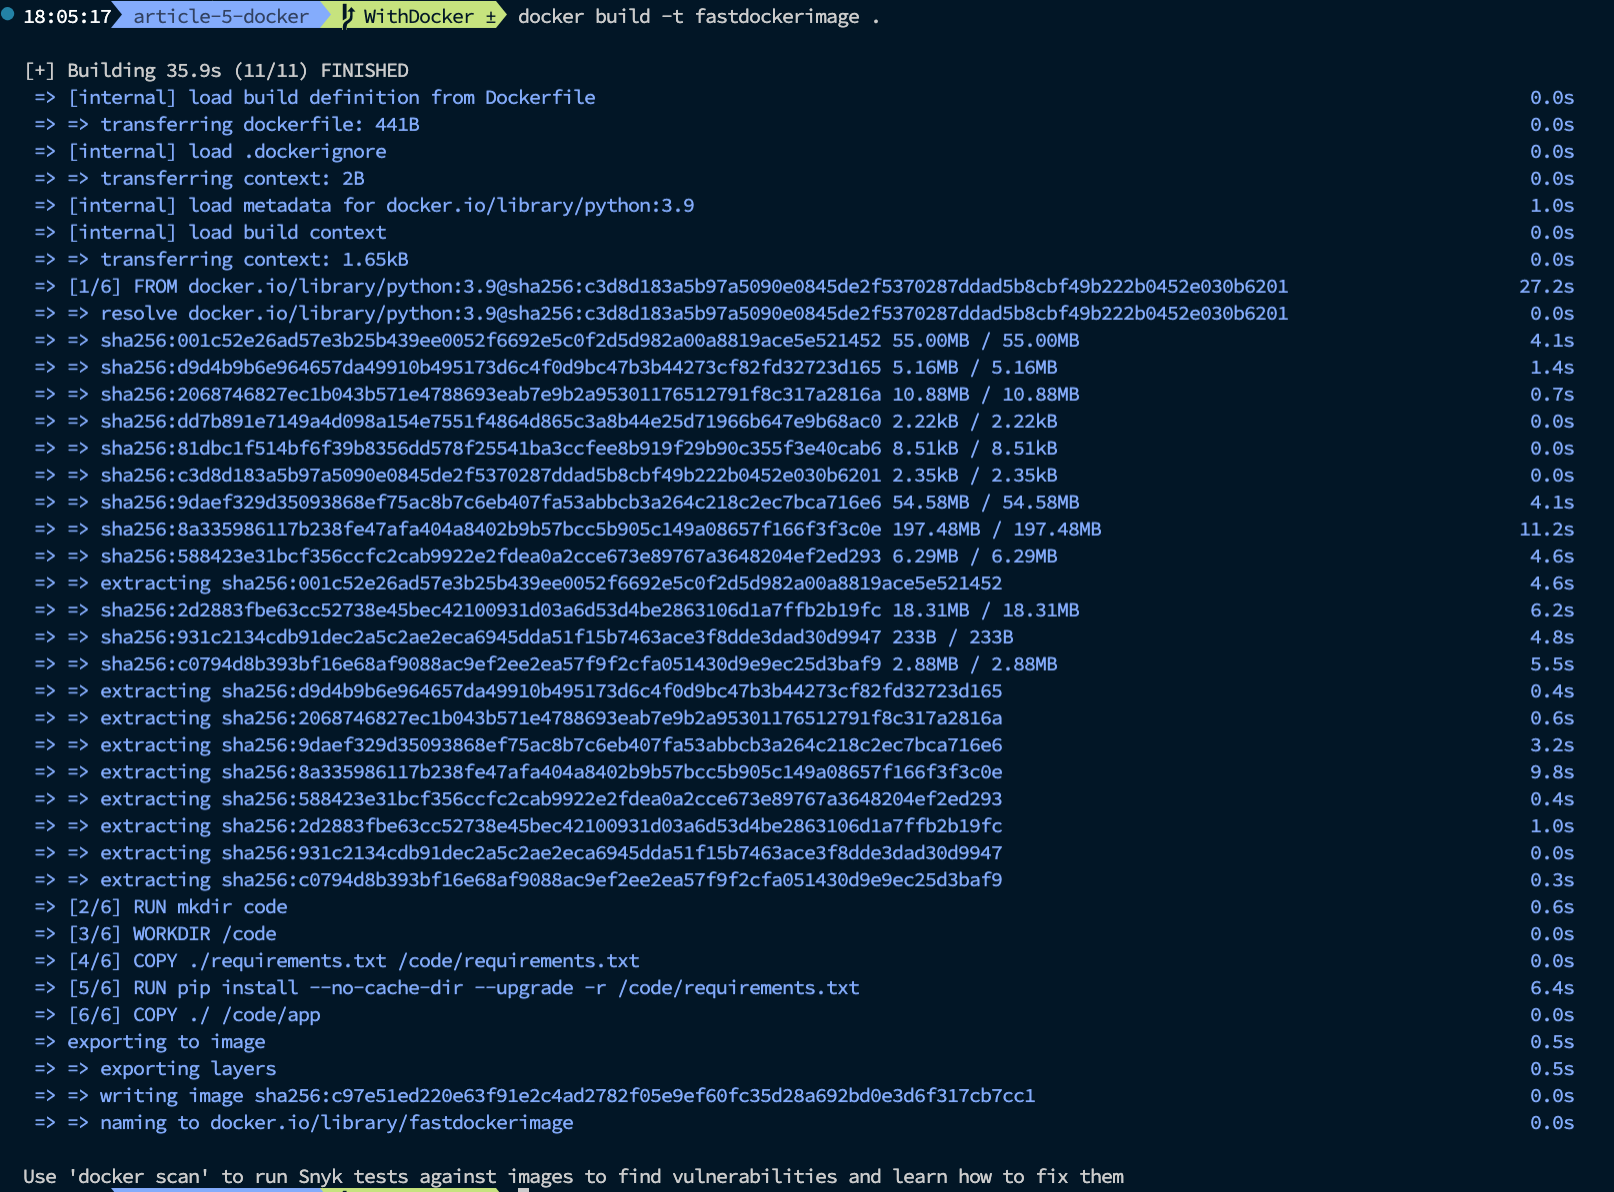
docker build -t fastdockerimage .
The first time you build your image a long list of installation steps are are shown.
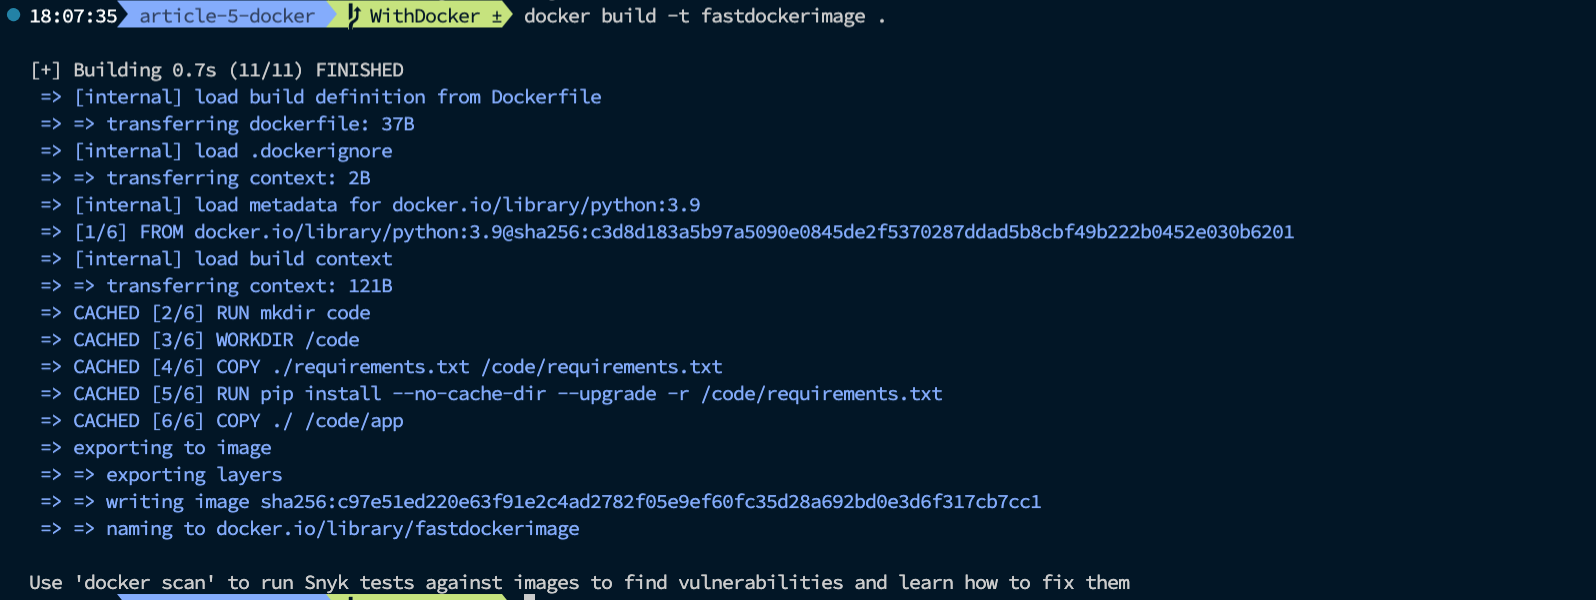
The next time, cached layers are used and you notice a much faster build time. The cached layers are used. The lengthy python downloads are avoided. The cached lines are shown in the screenshot below.
RUN Container
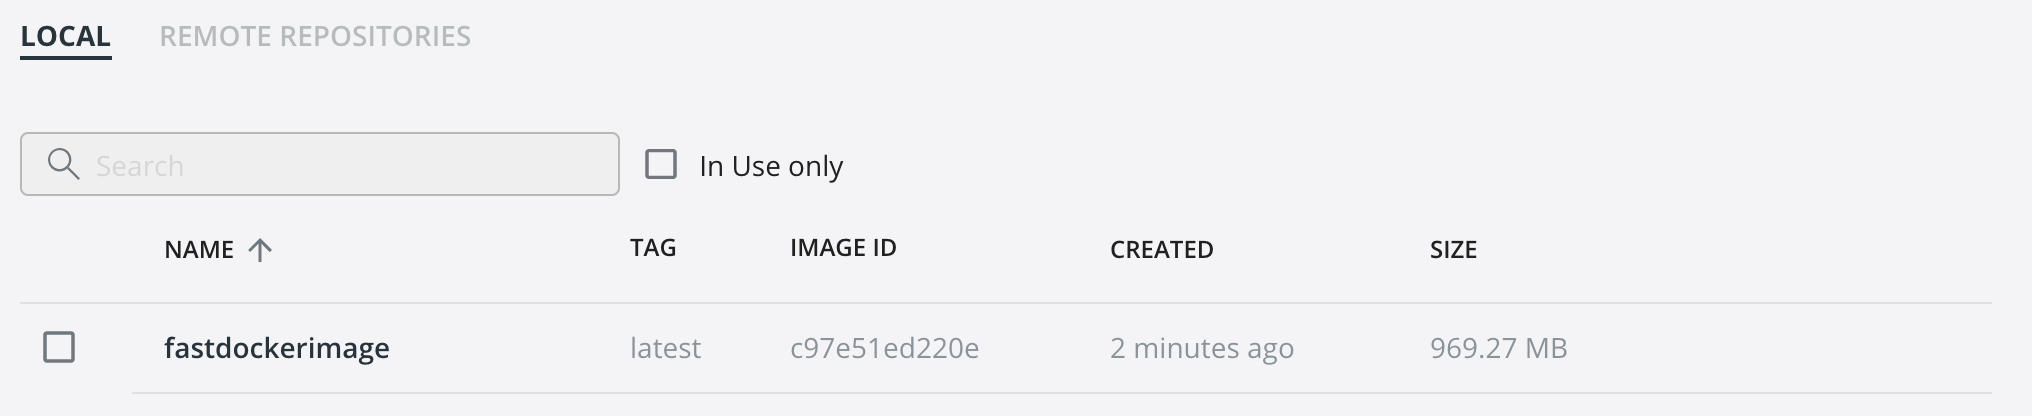
If you're using Docker Desktop, you can see your newly created image as shown below.
With our new Docker image we can now create and run a Docker Container.
docker run -d --name fastdockercontainer -p 80:80 fastdockerimage
We're running the container and specifying the container name as fastdockercontainer running on exposed port 80 (mapped to the internal container port 80) from on our new image called fastdockerimage. The -d argument indicates detached mode, so you can close your terminal and the terminal will still run. The Container ID is also printed to the terminal.

Docker desktop now shows our running container.

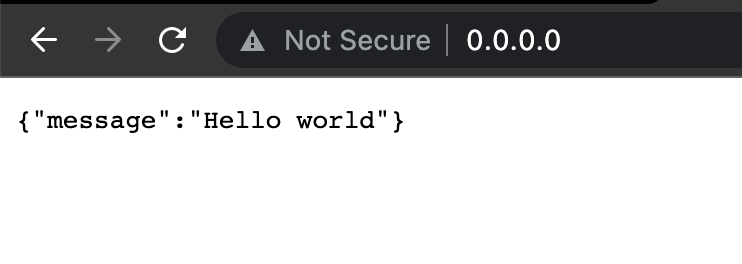
We can hit the container on localhost port 80 as usual. The application is not just running on a local Uvicorn server on our OS but in fact running on an isolated container environment.
This article was meant to clarify the basics of running a FastAPI project in Docker. Future articles will build on these foundational steps to build a real world production level project.