FAST API - Getting Started
The new platform on the block that is reigning supreme over others.

Introduction
This article is the start of a series on how to build an API using the FastAPI Framework.
Environment
This walkthrough will be built on macOS. However, no reason you can't follow along on Windows as well. I'll try to provide instructions for both when possible.
Code for this article can be found in the following GitHub Repo. Each folder will contain a separate project assigned to the assigned article in the series.
Tools
- Python 3
- macOS
- VS Code (Editor) with the Python Extension from Microsoft
Python Virtual Environments
Navigate to a directory of your choosing to set up your new FastAPI Project. In your new directory follow the next Command Line/ Terminal scripts.
Virtual Environments are a Python best practice to keep different project modules/ libraries separate from each other. You can use the
pip freezecommand to add required libraries to arequirements.txtfile. This allows you to re-install the required libraries for the project at a later time.
Setup in Windows
# Create Virtual Environment
python3 -m venv venv

# Change VS Code Python Interpreter to the VENV python Version

# Start Virtual Environment
venv\Scripts\activate.bat

# Command Prompt will show running Virtual Environment
Setup in macOS
# Create Virtual Environment
python3 -m venv venv

# Change VS Code Python Interpreter to the VENV python Version

# Start Virtual Environment
source venv/bin/activate

# Command Prompt will show running Virtual Environment
Install Packages
# Install FAST API with all dependencies for now
pip install "FastAPI[all]"
Running the setup commands should look like the following screenshot. The activated Virtual Environment is shown at the start of the terminal line venv.

FastAPI Hello World Example
REF: https://fastapi.tiangolo.com/tutorial/first-steps/
Create a new file named: app.py
# app.py
from fastapi import FastAPI

app = FastAPI()

@app.get("/")
async def root():
    return { "message": "Hello world" }
Run the FastAPI Server
From your terminal or integrated terminal in VS Code, run the following commands to start the API server.
# Start up the server
# First app is the app filename
# Second app is the name of the FastAPI instance in the app.py file
# --reload is a hot reload flag for the FastAPI Server

uvicorn app:app --reload
Starting the server will show the running URL and Port.

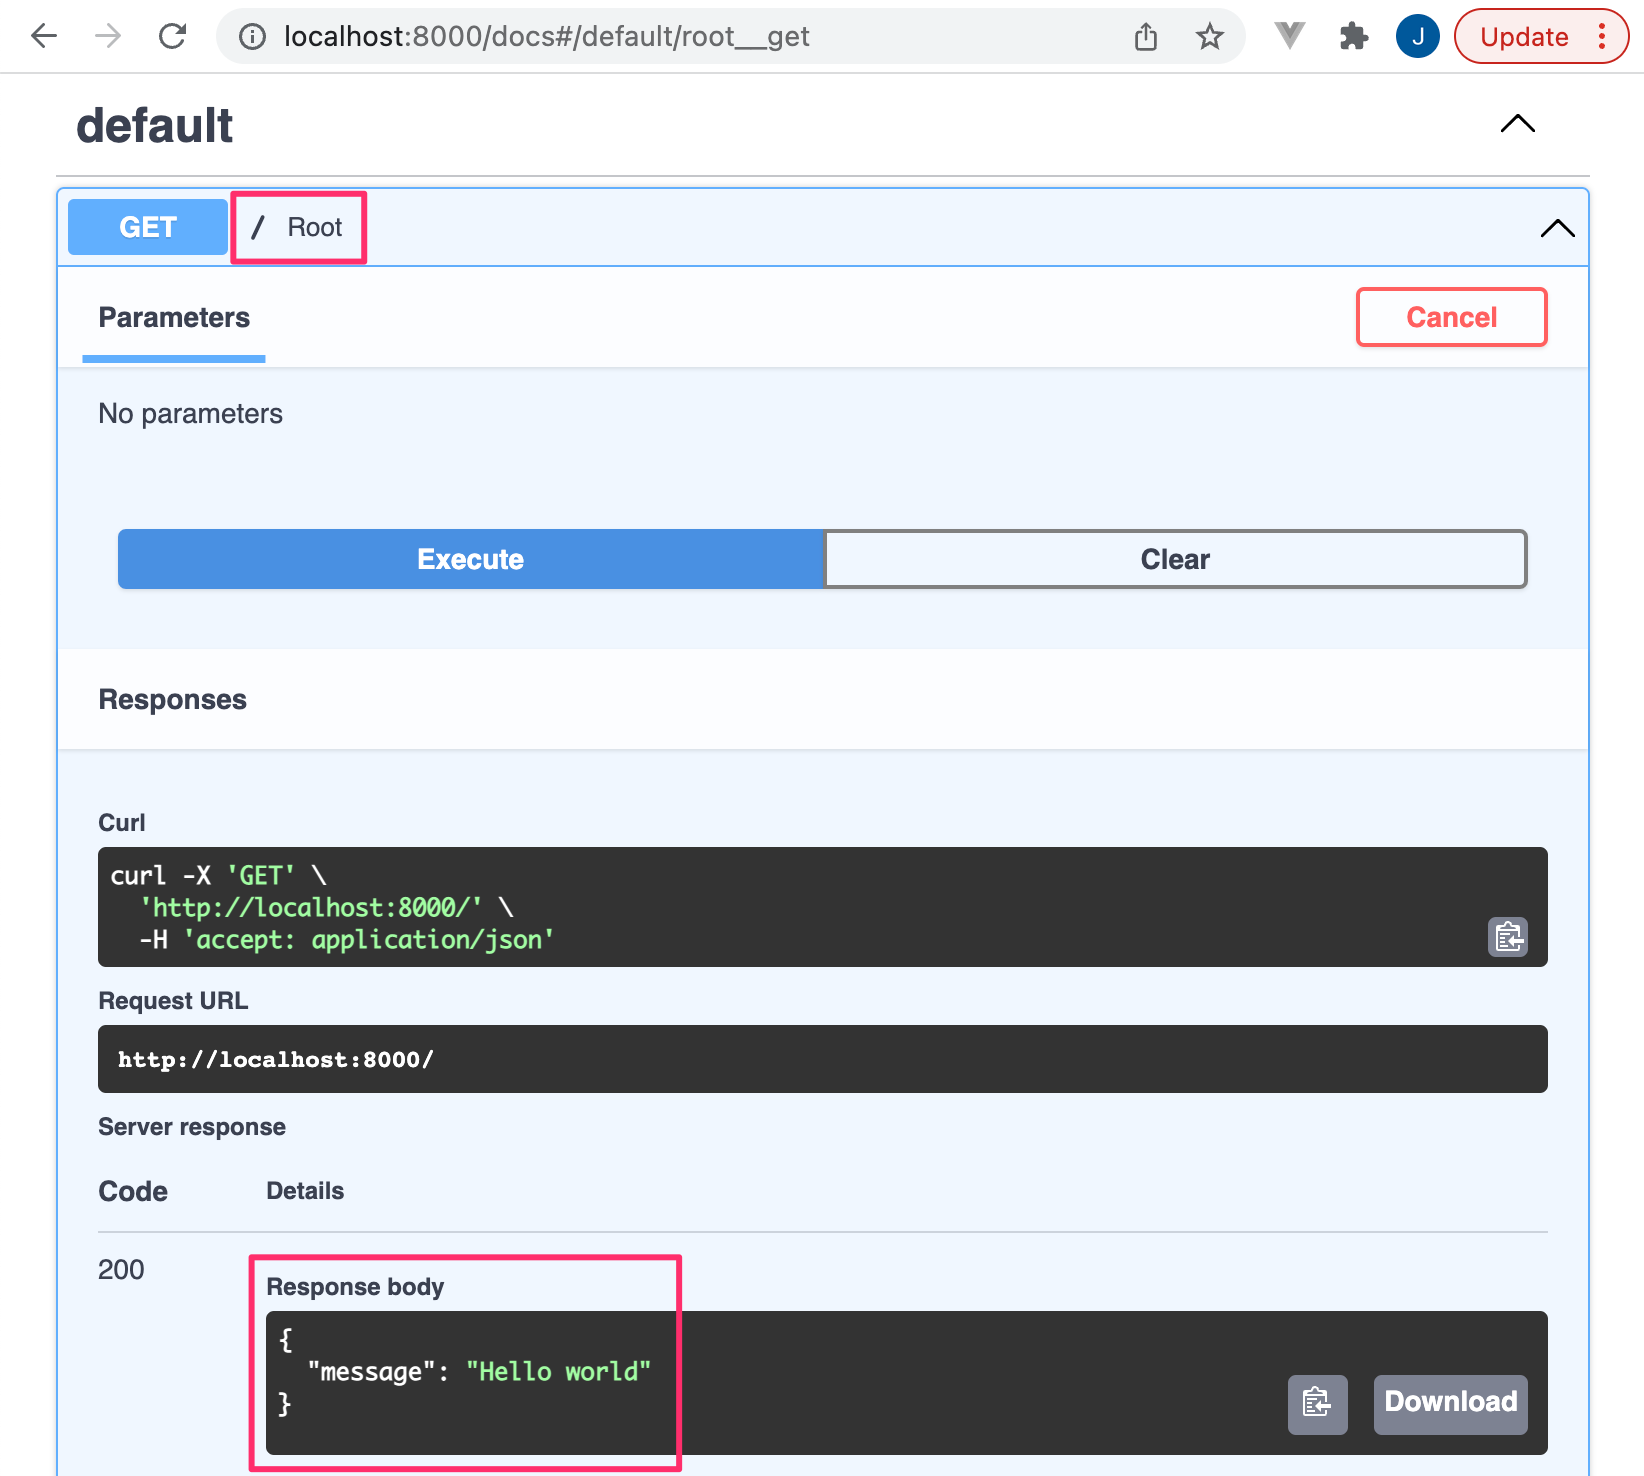
Visit http://localhost:8000/docs to view the Swagger Documentation for the FastAPI Server.
The ReDoc interface is also available by default at the following URL: http://localhost:8000/redoc.
The default endpoint in the example below / will return the Hello World payload.
The articles in this series will cover further configurations regarding security, database connections, and more.
About the author
Full Stack Data Dev.
Comments
Join the discussionNo comments yet. Be the first to comment.
FAST API - Building Blocks
This series will collect resources and guides to building FAST and robust APIs with FAST API. This will be similar to the .NET API series showing APIs built with different tech stacks.